Installation
Please install Webots 2025a. The version is important as the assignment starter code is not backwards compatible.
Webots
Webots is a multi-platform robot simulator. It also comes with a basic text editor and build system.
Webots GUI
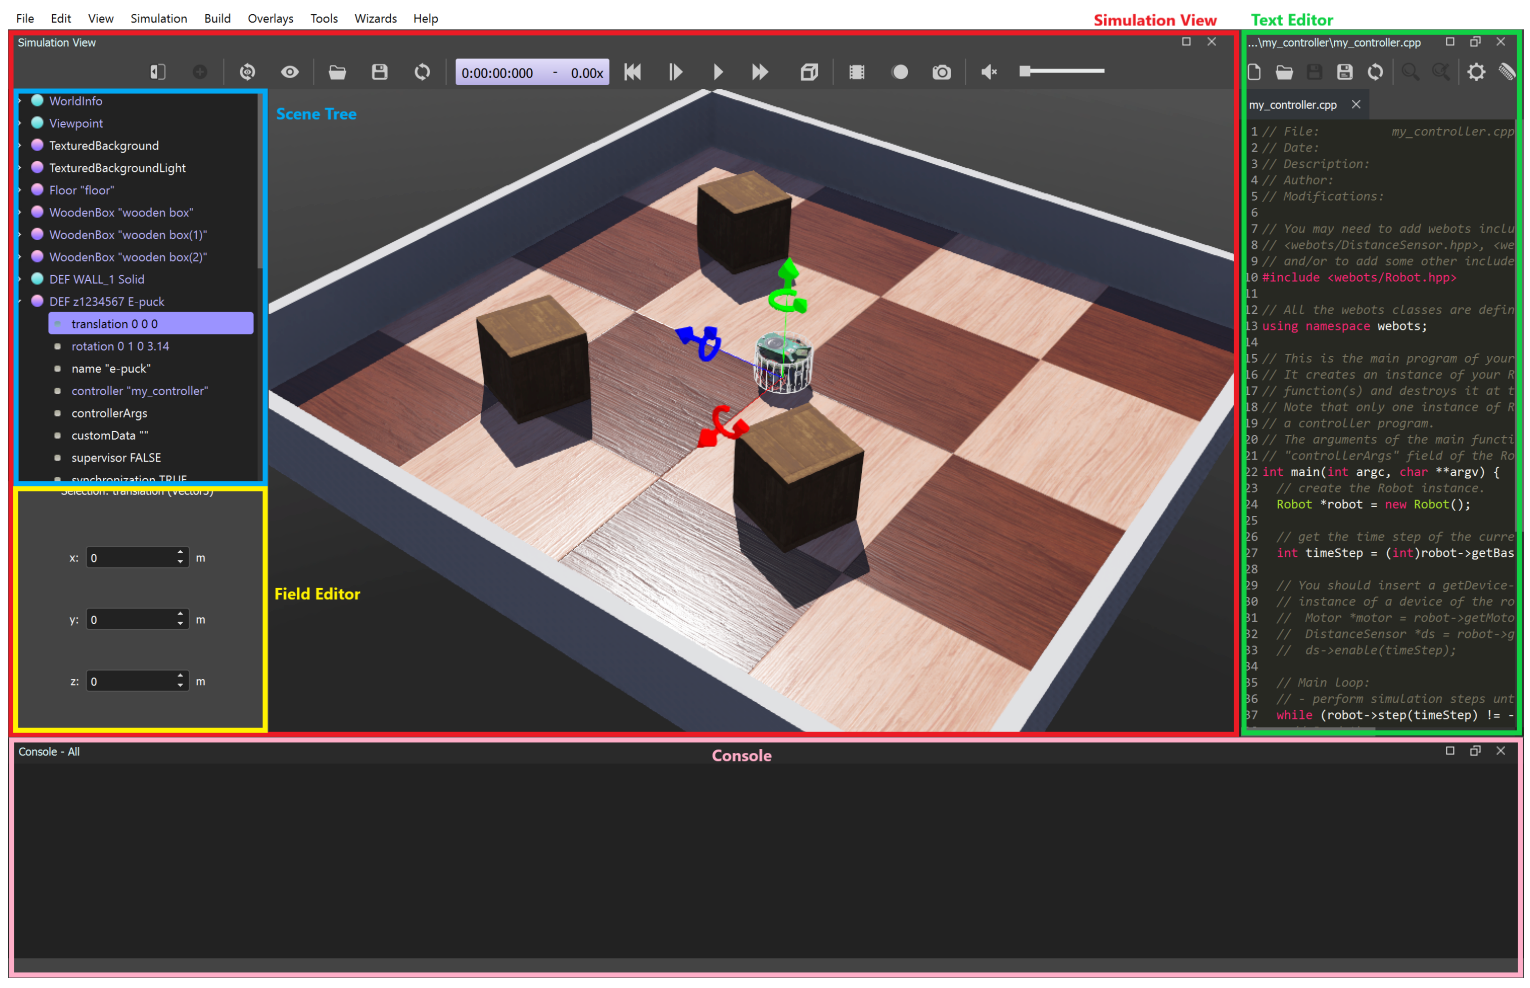
The Webots GUI contains subwindows:
- Simulation View (red): Contains a view of the world as well as the scene tree.
- Scene Tree (blue): Contains a hierarchy tree of the world’s nodes.
- Field Editor (yellow): Selecting a node from the scene tree shows the node’s fields.
- Text Editor (green): Basic text editor with build and clean tools.
- Console (pink): Output from the controller and any world updates.
Webots Project Structure
A simple Webots project has a folder structure displayed below:
webots-project/
|
|_ controllers/
|  |_ simple_controller/
|
|_ protos/
|  |_ basic_robot.proto
|
|_ worlds/
   |_ obstacles.wbt
The project consists of:
- A
controllersfolder which contains subfolders of controllers - A
protosfolder which contains descriptions of nodes that can be included in worlds. - A
worldsfolder which containswbtfiles.
Worlds
wbt files are text files that contain a description of world components, for example:
- objects
- lighting
- floor
- background
- robots
The description of the wbt is outlined in the Scene Tree.
Scene Tree
(highlighted in the Webots GUI as blue)
A scene tree is a collection of nodes which describes the Webots world.
Nodes & Fields
Nodes are building blocks of the Webots world and robots. A list of nodes can be found here: https://cyberbotics.com/doc/reference/node-chart
Nodes can have properties such as translation, rotation, and name. These properties are called “fields”.
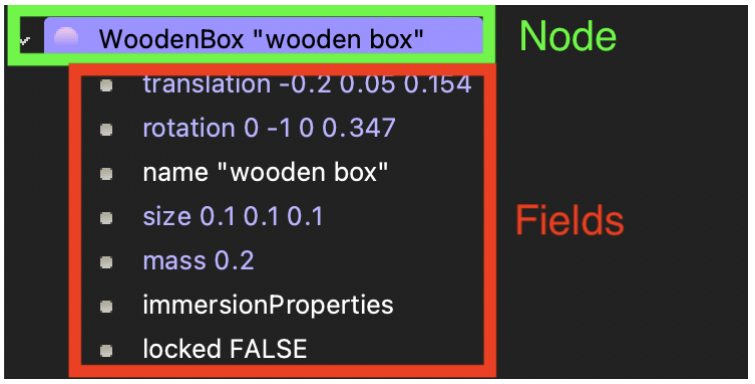
Fields can be edited within the Webots GUI when the field is selected in the scene tree via the field editor (highlighted in the Webots GUI as yellow).
Controllers
A controller is code that is used to control robots when the controller has been attached to the robot.
Controllers can be created in Webots via File > New > New Robot Controller, then clicking through the
Wizard.
The created controller can then be attached to an existing robot via its controller node.
Note that the controller needs to be compiled before it can be run.
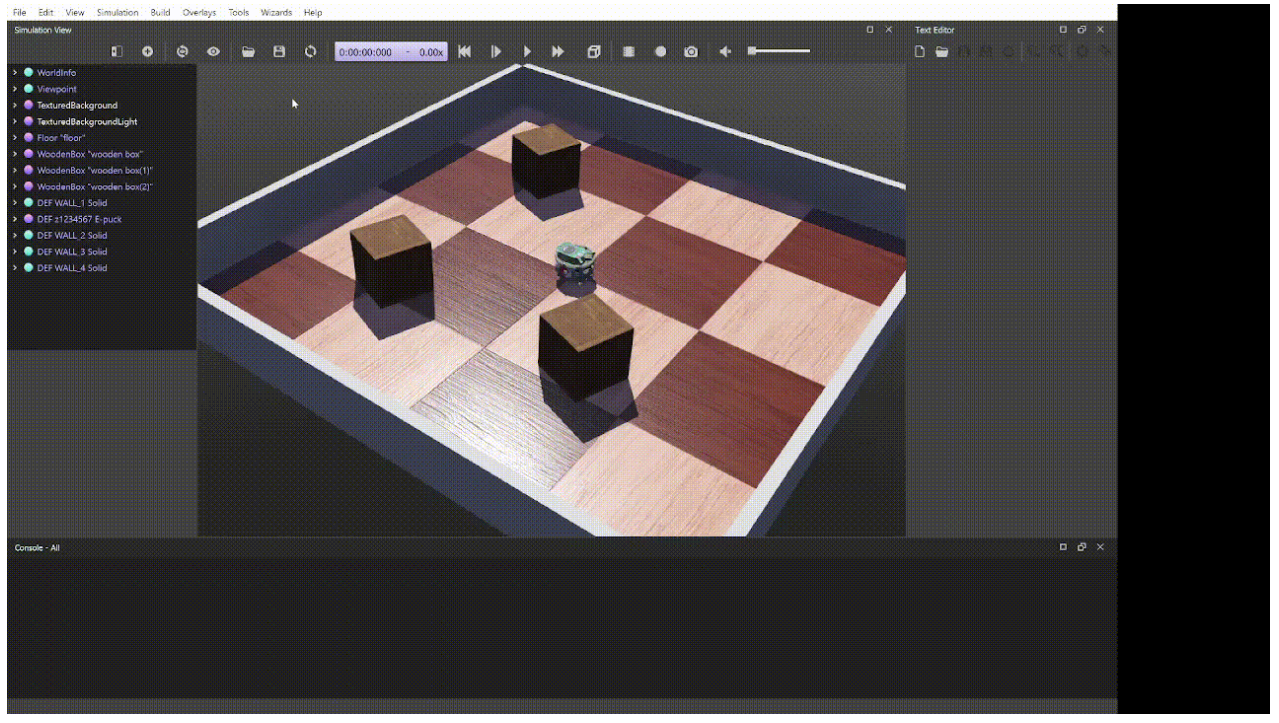
Running the Simulation
To run the Webots simulation, press the play button in the top bar of the simulation view. The simulation is running if the time stamp is changing.

The Webots simulation can also be fast-forwarded, reversed, or reset.
Using Webots with VSCode
The Webots text editor is limited in features and may feel unpleasant to use. You can instead open your Webots project in VSCode and use VSCode to code. However, you will still need to keep Webots open in order to compile and run your code.
Note that when you build your code in Webots, you will need to make sure the controller file is actively open for that specific controller to compile.
Linking Webots libraries to VSCode
VSCode will not automatically find Webots header files to give code hinting support which will show red squiggly lines when writing Webots code.
To resolve this, open your C/C++ configurations file by pressing ctrl+shift+P (or cmd+shift+P on Mac) then typing in C/C++: Edit Configurations (UI). A new tab should open where you should navigate to Include path and add:
# If on Windows.


# If on Mac.
/Applications/Webots.app/Contents/include/controller/cpp/